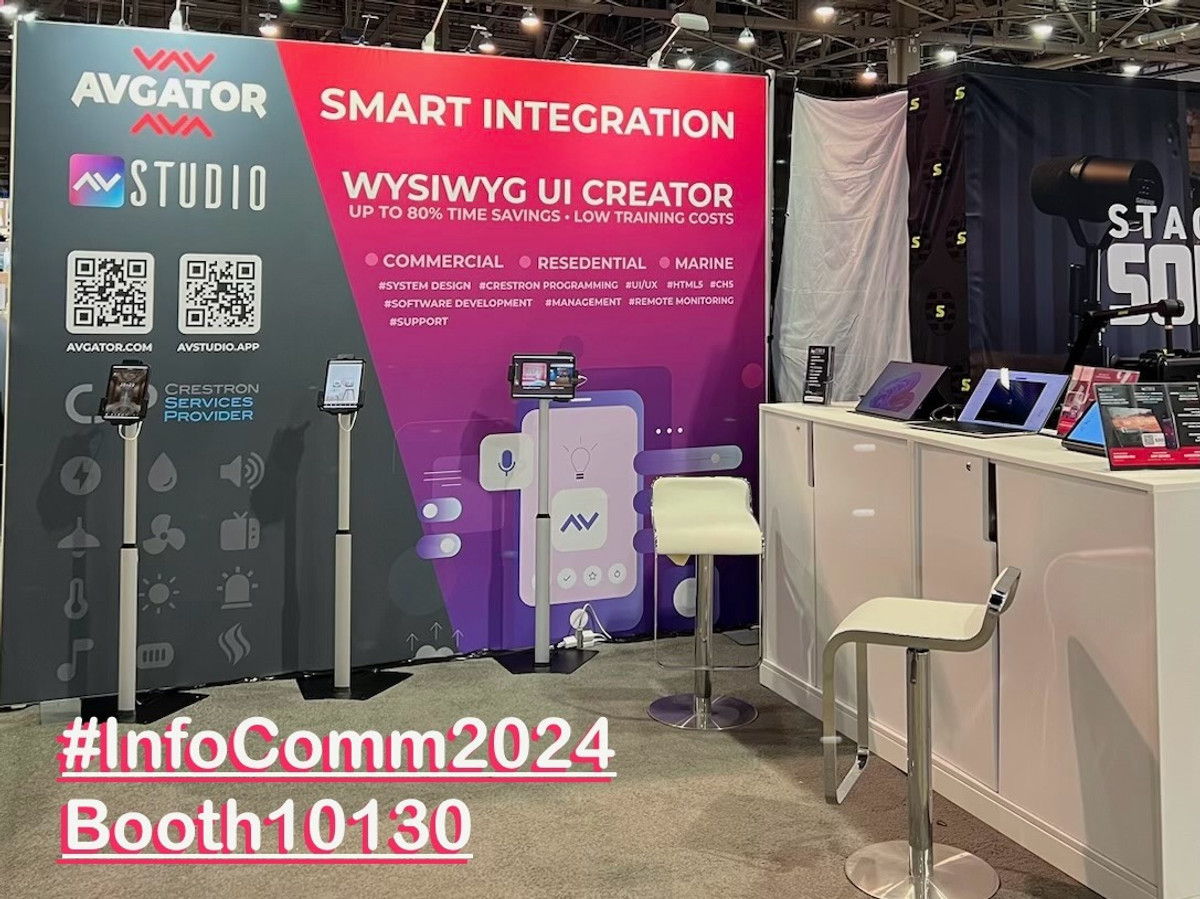
Introduction
Discover the Bright Conference Room Template, an intuitive HTML5/CH5 User Interface crafted using AVgator® Studio. Ideal for conference and huddle rooms, this template offers a seamless and efficient control solution to enhance your meeting experiences.
Getting Started
Welcome to the Bright Conference Room Template demo! This intuitive HTML5 User Interface, developed using AVgator® Studio, is designed to elevate your conference and huddle room experience. With streamlined controls and a user-friendly design, our template ensures effortless management of room settings, audio-visual equipment, and collaboration tools. Explore the features and see how it can transform your meetings and presentations.
Navigating the Interface
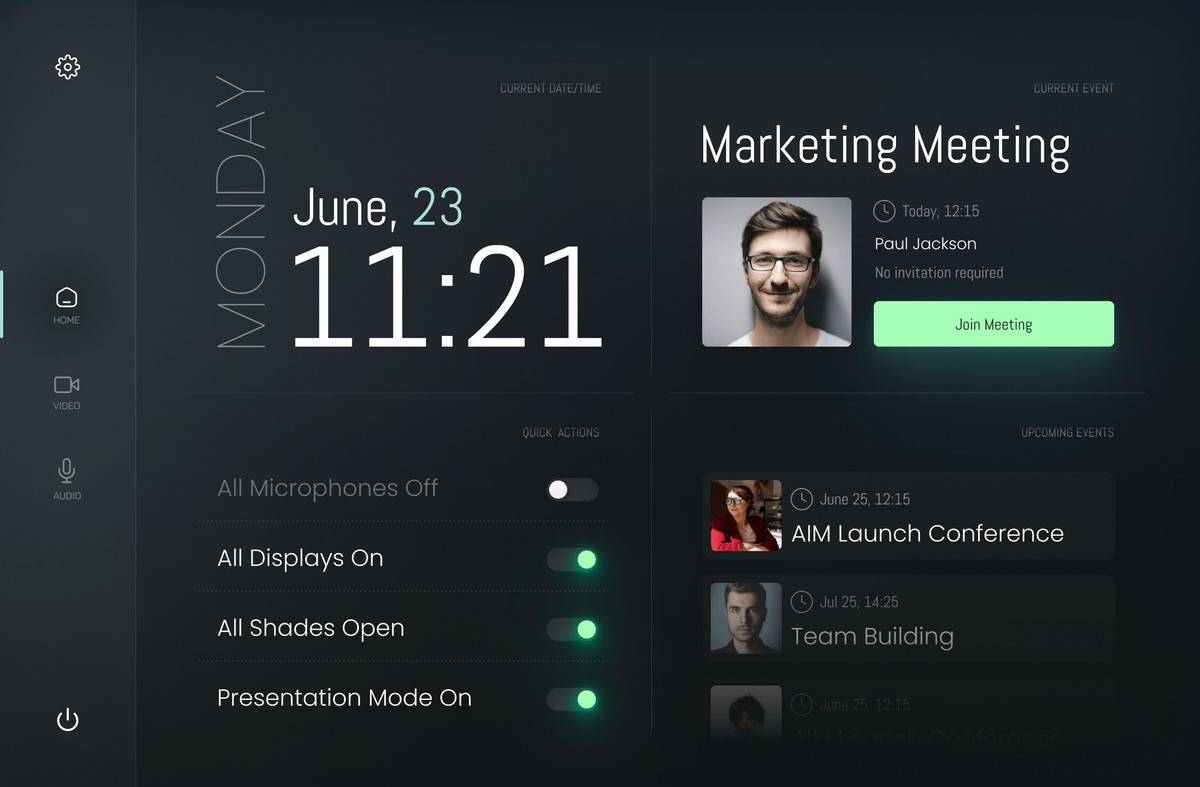
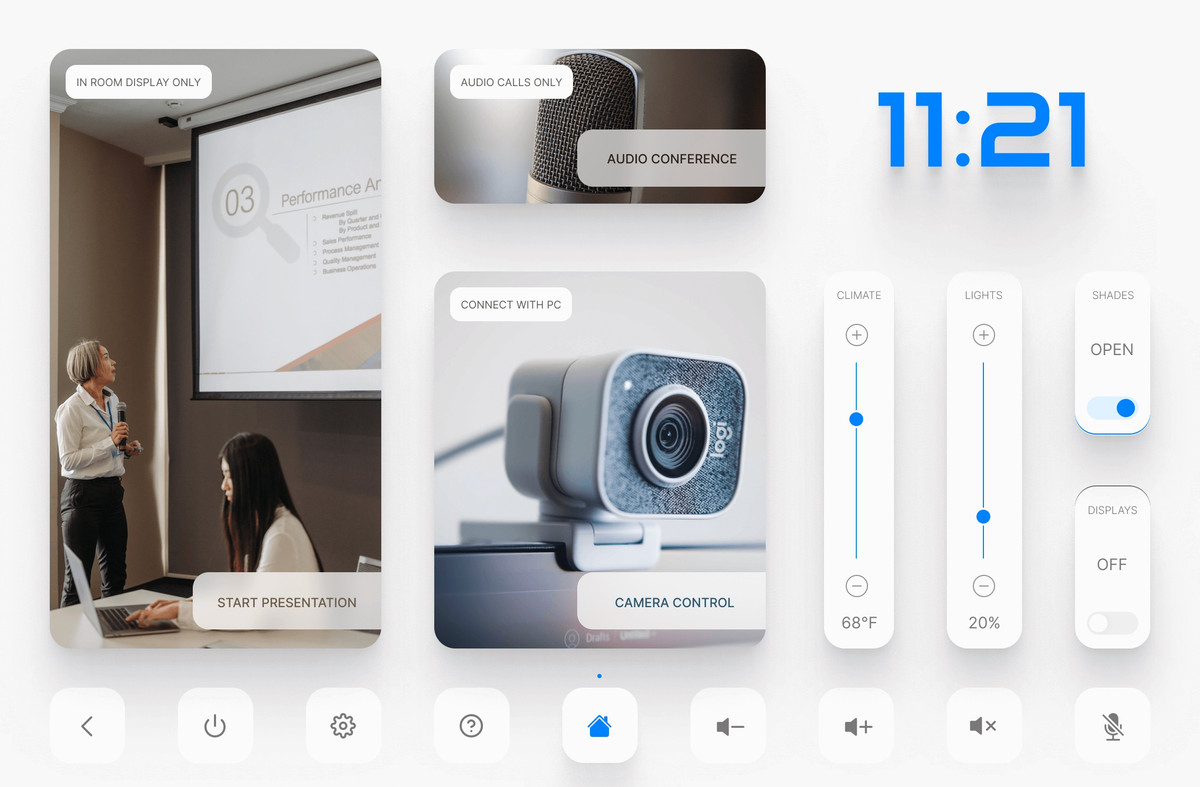
- Home Button: Located at the bottom of the interface, the Home button allows quick access to the main screen.
- Volume Controls: In the middle of the interface, the volume control buttons marked with + and – allow you to easily increase or decrease the volume, ensuring optimal audio levels during your meetings.
- Speaker Mute Button: Next to the volume controls, the speaker mute button enables you to quickly mute or unmute the speaker for instant audio control.
- Microphone Mute Button: Beside the speaker mute button, the microphone mute button allows you to mute or unmute the microphone as needed.
- Power Button: The power button allows you to quickly and easily power off the system.
- Confirmation Popup: After pressing the power button, a confirmation popup appears, providing options to either confirm the shutdown or cancel the action, preventing accidental power-offs.
- Settings Menu: Located in the header, the gear button provides access to the settings menu, where you can customize various system settings to tailor the interface to your specific needs.
- Help Button: In the top left corner of the header, the help button provides access to a help guide and technical support contact information.
- Help Page: The help page contains all essential information and technical support contact details you need.
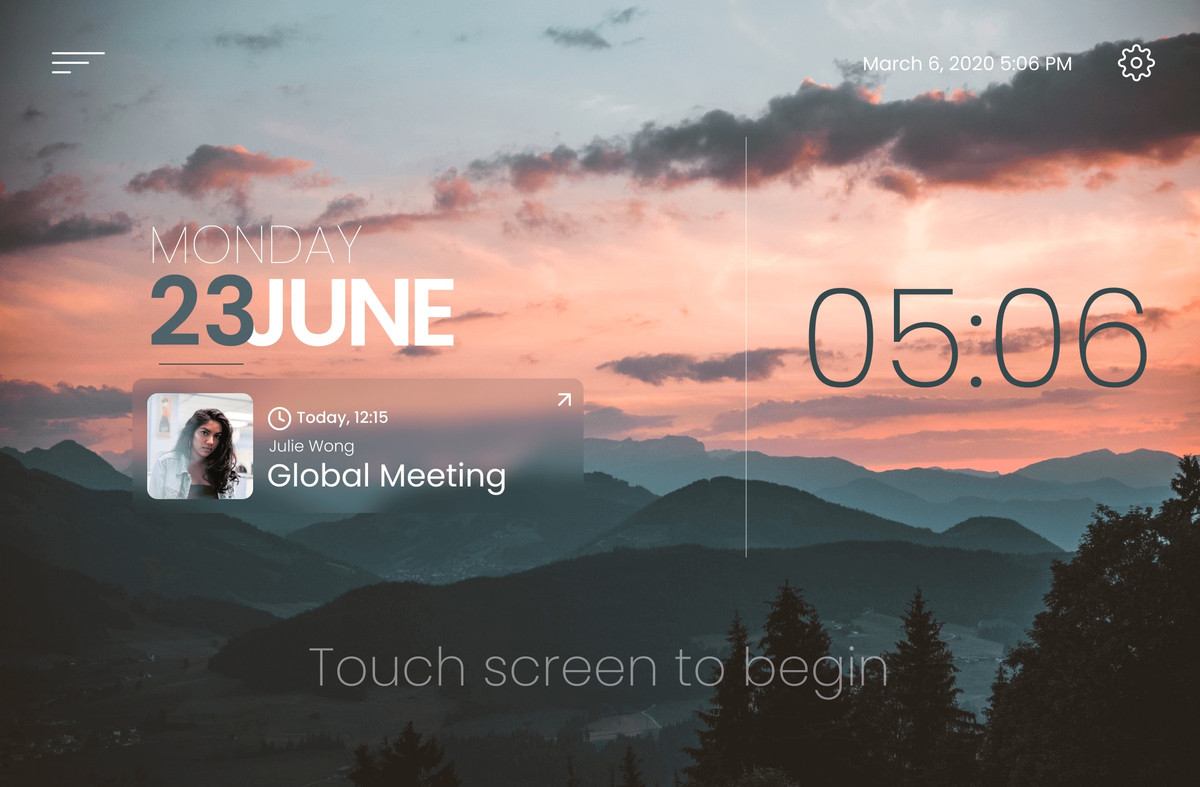
- Current Date and Time: The home screen displays the current date and time, ensuring you stay informed and on schedule during your meetings.
- Time Zones: Additionally, a clock showing different time zones is displayed below the date and time.
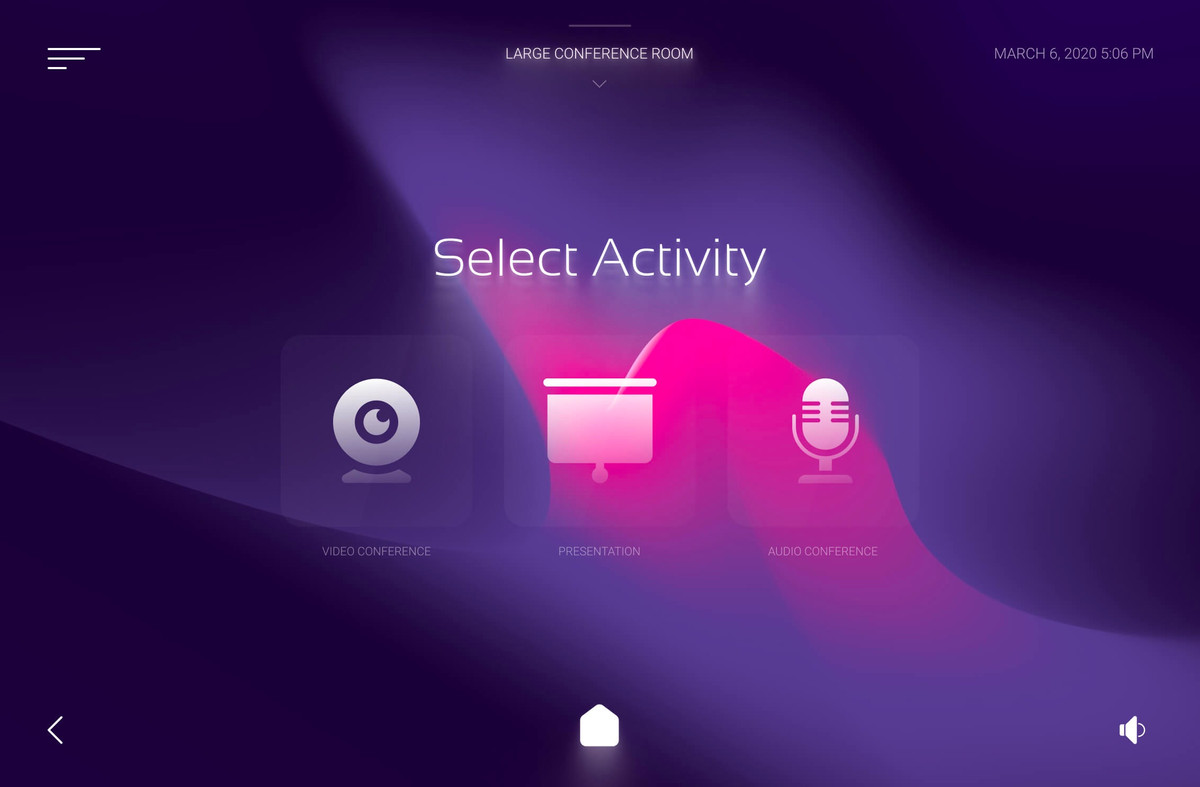
Activity Selection
- Start Presentation: Select the “Start Presentation” option to initiate your presentation seamlessly, ensuring all necessary equipment and settings are ready for an effective and professional delivery.
- Source Selection: On the next screen, select the source for the presentation you want to send to the destination.
- Destination Selection: Choose the destination for your selected source.
- Return to Home Page: Navigate back to the home page once your presentation setup is complete.
Audio Conference
- Audio Conference: Select “Audio Conference” to initiate and manage audio-only meetings.
- Dial Pad: Access the dial pad to make calls by entering the desired phone numbers directly.
- Contact List: On the right side, access your contact list for quick and easy call initiation.
- Call Management: On the left side, use the generic call, hangup, and on-hold buttons to manage your calls efficiently.
- Return to Main Screen: Click the Home button to return to the main screen.
Video Conference
- Video Conference: Select “Video Conference” to initiate and manage video meetings.
- Camera Selection: On the left side, choose the appropriate camera for your video meetings.
- Camera Presets: On the right side, select from predefined camera settings for your video meetings.
- Pan, Tilt, and Zoom Control: In the middle, adjust the camera’s position and zoom level to suit your needs.
- Source Selection for Sharing Content: Below, choose the content source you want to share during your video meetings.
- End Video Conference: To end the video conference, click the designated button.
Conclusion
Creating an intuitive and efficient interface like this is easy with AVgator®Studio. Our powerful tools and user-friendly design make it simple to develop customized solutions for your conference and huddle rooms. Experience the convenience and functionality of AVgator®Studio and enhance your control systems effortlessly.
Enjoyed the Guided Demo?
We hope you found the Bright Conference Room Template demo informative and helpful. Try AVgator®Studio today and transform your conference room experiences!