At 03:00 EDT on August 6th, we plan a downtime of up to one hour. During this downtime, we are introducing a template mechanic – now each user will have access to a constantly expanding library of ready-made projects completely free of charge. Additionally, starting at 03:00 EDT on August 6th, we plan to introduce a payment system for created projects according to the price list available at link. All projects created before 03:00 EDT on August 6th will receive a free standard subscription.
Discover the Bright Conference Room Template, an intuitive HTML5/CH5 User Interface crafted using AVgator® Studio. Ideal for conference and huddle rooms, this template offers a seamless and efficient control solution to enhance your meeting experiences.
Getting Started
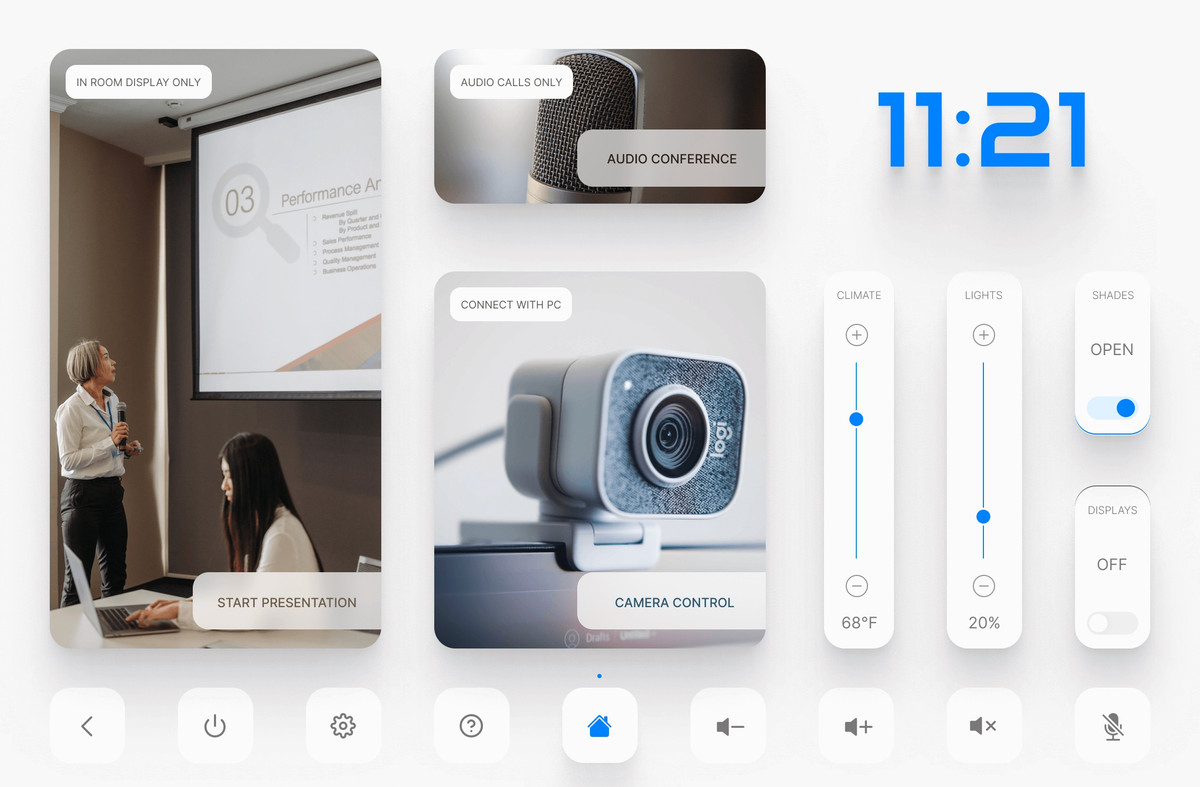
Welcome to the Bright Conference Room Template demo! This intuitive HTML5 User Interface, developed using AVgator® Studio, is designed to elevate your conference and huddle room experience. With streamlined controls and a user-friendly design, our template ensures effortless management of room settings, audio-visual equipment, and collaboration tools. Explore the features and see how it can transform your meetings and presentations.
Navigating the Interface
Home Button: Located at the bottom of the interface, the Home button allows quick access to the main screen.
Volume Controls: In the middle of the interface, the volume control buttons marked with + and – allow you to easily increase or decrease the volume, ensuring optimal audio levels during your meetings.
Speaker Mute Button: Next to the volume controls, the speaker mute button enables you to quickly mute or unmute the speaker for instant audio control.
Microphone Mute Button: Beside the speaker mute button, the microphone mute button allows you to mute or unmute the microphone as needed.
Power Button: The power button allows you to quickly and easily power off the system.
Confirmation Popup: After pressing the power button, a confirmation popup appears, providing options to either confirm the shutdown or cancel the action, preventing accidental power-offs.
Settings Menu: Located in the header, the gear button provides access to the settings menu, where you can customize various system settings to tailor the interface to your specific needs.
Help Button: In the top left corner of the header, the help button provides access to a help guide and technical support contact information.
Help Page: The help page contains all essential information and technical support contact details you need.
Current Date and Time: The home screen displays the current date and time, ensuring you stay informed and on schedule during your meetings.
Time Zones: Additionally, a clock showing different time zones is displayed below the date and time.
Activity Selection
Start Presentation: Select the “Start Presentation” option to initiate your presentation seamlessly, ensuring all necessary equipment and settings are ready for an effective and professional delivery.
Source Selection: On the next screen, select the source for the presentation you want to send to the destination.
Destination Selection: Choose the destination for your selected source.
Return to Home Page: Navigate back to the home page once your presentation setup is complete.
Audio Conference
Audio Conference: Select “Audio Conference” to initiate and manage audio-only meetings.
Dial Pad: Access the dial pad to make calls by entering the desired phone numbers directly.
Contact List: On the right side, access your contact list for quick and easy call initiation.
Call Management: On the left side, use the generic call, hangup, and on-hold buttons to manage your calls efficiently.
Return to Main Screen: Click the Home button to return to the main screen.
Video Conference
Video Conference: Select “Video Conference” to initiate and manage video meetings.
Camera Selection: On the left side, choose the appropriate camera for your video meetings.
Camera Presets: On the right side, select from predefined camera settings for your video meetings.
Pan, Tilt, and Zoom Control: In the middle, adjust the camera’s position and zoom level to suit your needs.
Source Selection for Sharing Content: Below, choose the content source you want to share during your video meetings.
End Video Conference: To end the video conference, click the designated button.
Conclusion
Creating an intuitive and efficient interface like this is easy with AVgator®Studio. Our powerful tools and user-friendly design make it simple to develop customized solutions for your conference and huddle rooms. Experience the convenience and functionality of AVgator®Studio and enhance your control systems effortlessly.
Enjoyed the Guided Demo?
We hope you found the Bright Conference Room Template demo informative and helpful. Try AVgator®Studio today and transform your conference room experiences!
At InfoComm 2024, we at AVgator® Studio had the pleasure of showcasing our cutting-edge AV integration solutions. Our revolutionary Graphical User Interface Integrated Development Environment (GUI IDE/Editor) captivated the audience, highlighting its remarkable efficiency and user-friendly design. This monumental presentation sparked excitement among manufacturers eager to explore OEM possibilities with us.
The AV Evolution
Our innovative approach at AVgator® Studio is paving the way for a new era in AV integration. Our GUI IDE/Editor has emerged as a beacon of modernization, winning the hearts of programmers seeking streamlined workflows and a seamless transition from outdated, legacy systems. We are committed to bridging the gap between complexity and simplicity, revolutionizing the AV landscape one solution at a time.
A Glimpse into the Future
Our future-forward design philosophy resonated strongly with attendees at InfoComm 2024. The intuitive nature of our GUI IDE/Editor symbolizes a paradigm shift towards more efficient and user-centric AV solutions. Programmers and technicians recognized our tool as a modern gem, unlocking a realm of possibilities in the realm of AV integration.
Forging Strategic Partnerships
The buzz surrounding our showcase was not merely due to our innovation but also our promise of collaborative opportunities. Manufacturers quickly envisioned the potential for OEM partnerships, leveraging our breakthrough solutions to enhance their own product offerings. The allure of seamless integration and enhanced efficiency was irresistible to those seeking to stay at the forefront of technological advancement.
Embracing Change: Legacy to Legend
Our GUI IDE/Editor represents not just a software tool but a transformative force. For programmers accustomed to grappling with outdated systems and convoluted processes, this modern marvel serves as a beacon of hope. Its user-friendly design and efficient performance not only signify progress but exemplify a seamless transition from legacy systems to a future where AV integration is synonymous with ease and excellence.
Elevating the AV Experience
In the ever-evolving landscape of AV technology, innovations like our GUI IDE/Editor stand as pillars of progress. Our commitment to efficiency, user-friendliness, and innovation heralds a new dawn for the industry, where complexity is no longer a barrier to excellence. As professionals witness the transformation firsthand, it becomes evident that the future of AV integration is not just bright – it’s impeccably designed, supremely efficient, and extraordinarily user-friendly.
In conclusion, our presence at InfoComm 2024 was not just a showcase; it was a testament to the power of innovation in transforming the AV landscape. As the industry adapts to the changing tides of technology, solutions like our GUI IDE/Editor set a new standard of excellence, efficiency, and user experience that promises to reshape the very fabric of AV integration.
So, here’s to embracing innovation, forging partnerships, and unlocking a future where AV integration is not just seamless; it’s revolutionary.
As InfoComm 2024 wraps up, we’re excited to share the final day with all of you! It’s been an incredible event, filled with amazing interactions and feedback about our latest version of AVgator® Studio – HTML5 GUI Editor
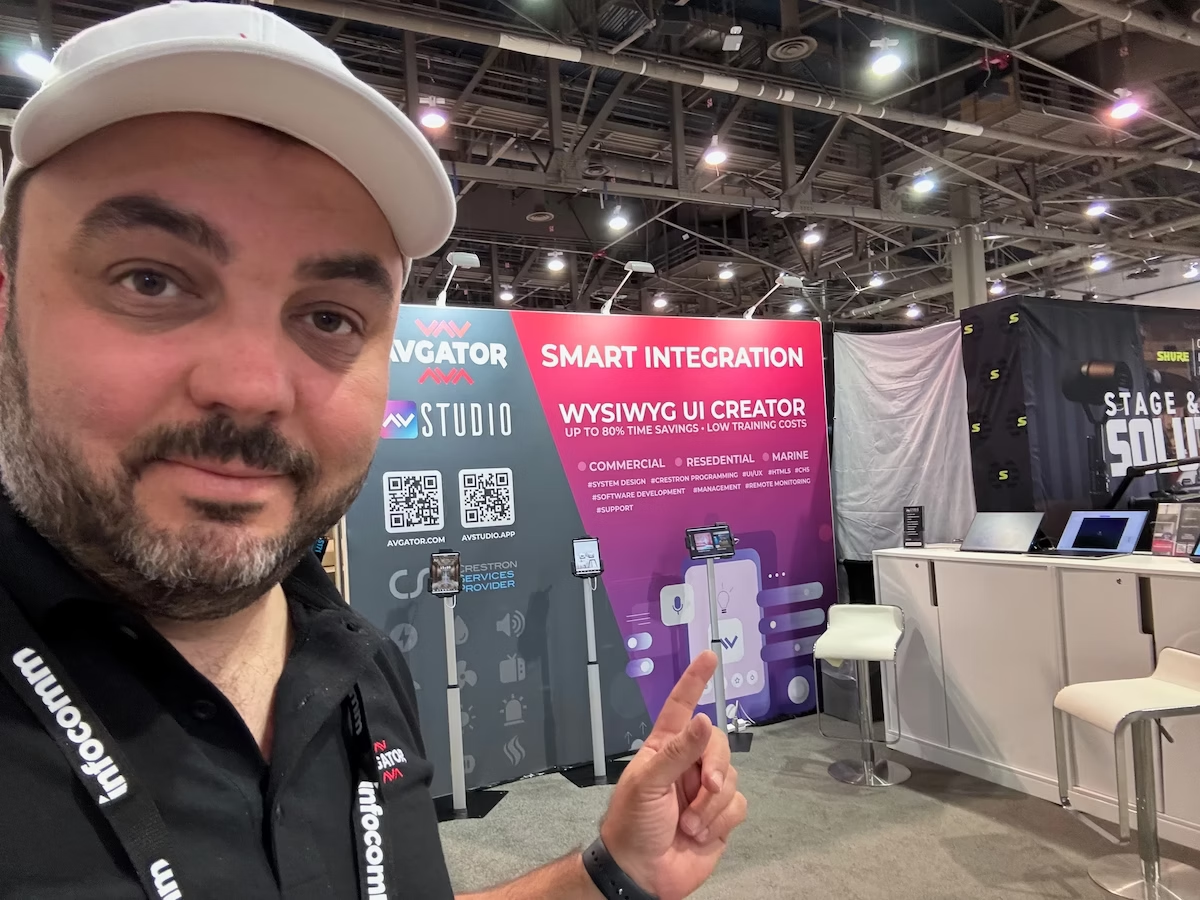
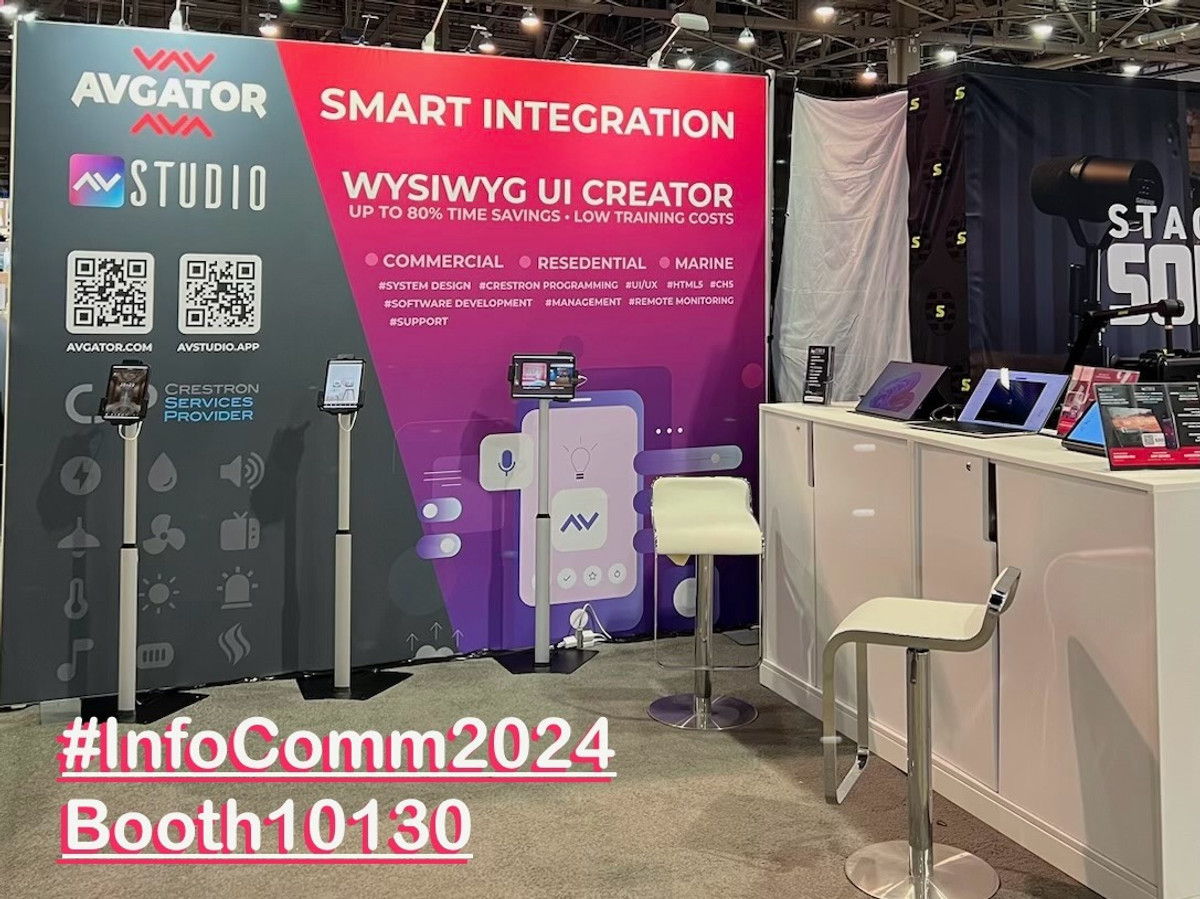
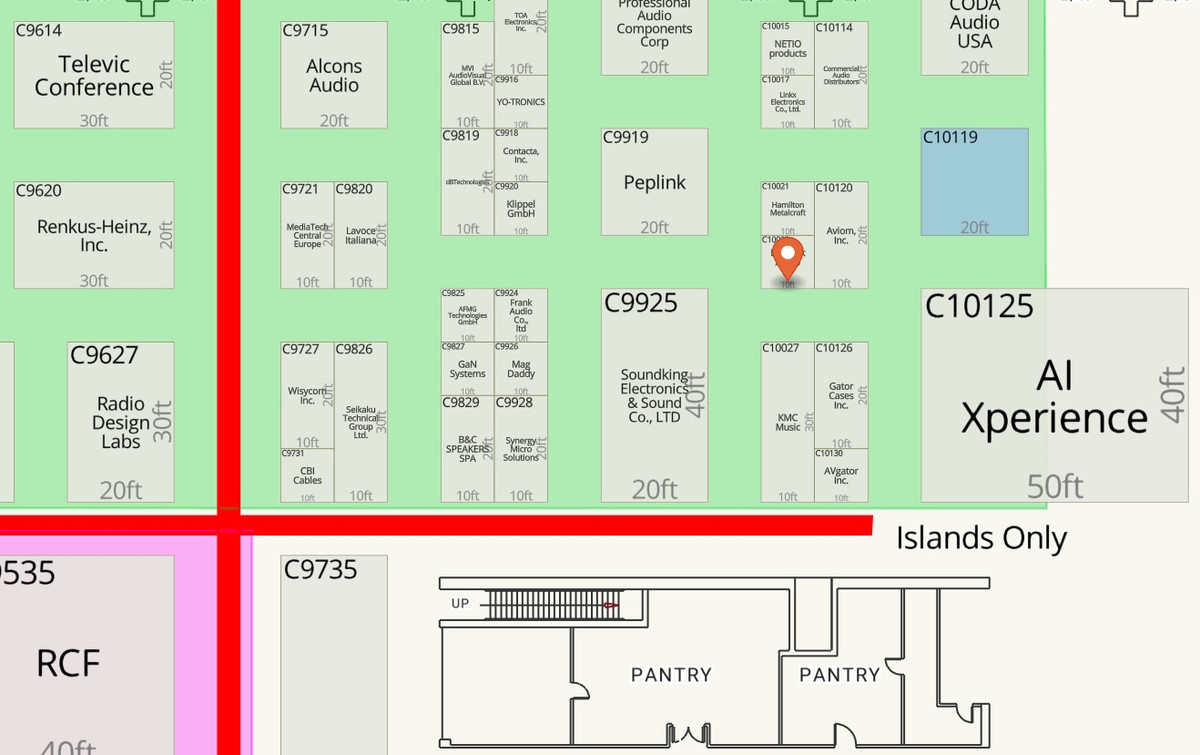
If you haven’t had a chance to visit us yet, today is your last opportunity to see AVgator® Studio in action at Central Hall, Booth 10130. We’re showcasing groundbreaking features, including over 300 new enhancements, and demonstrating how they can streamline your AV projects.
Highlights from Day 3:
• Live Demos: Experience the new features firsthand and see how easy it is to create stunning UIs with AVgator® Studio.
• Interactive Sessions: Engage with our experts, get your questions answered, and explore how AVgator® Studio can fit your needs.
• Networking Opportunities: Connect with industry peers and our team to discuss future AV solutions and collaborations.
For those who couldn’t attend in person, we’ve prepared a video showcasing our booth and the key highlights of AVgator® Studio. Watch it here and get a glimpse of the innovations we’re bringing to the AV industry.
We want to thank everyone who visited us over the past few days. Your interest and feedback have been invaluable, and we’re excited about the possibilities ahead. Stay tuned for more updates and future developments from AVgator®Inc.
Event Details:
• Location: Central Hall, Booth 10130
• Date: June 14, 2024
For more information and to stay connected, follow us on LinkedIn.
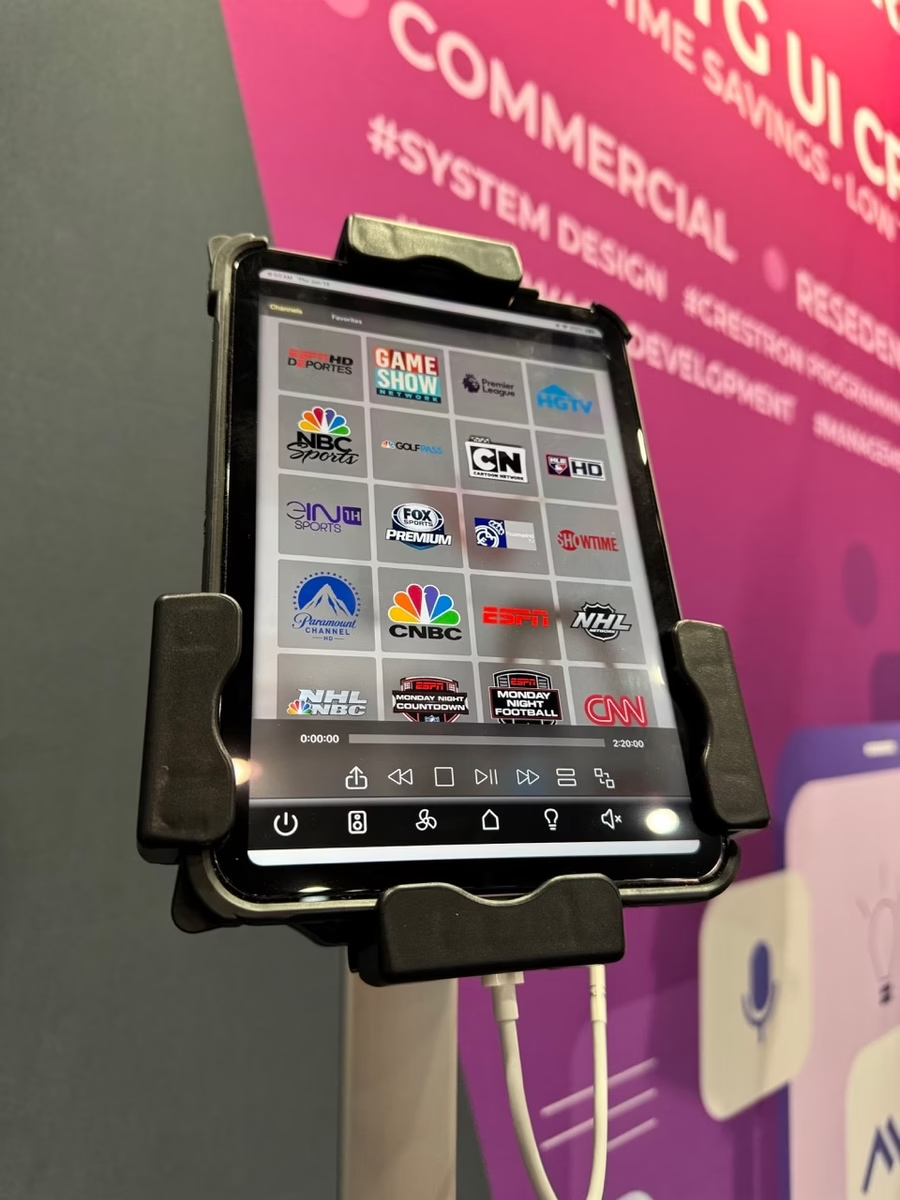
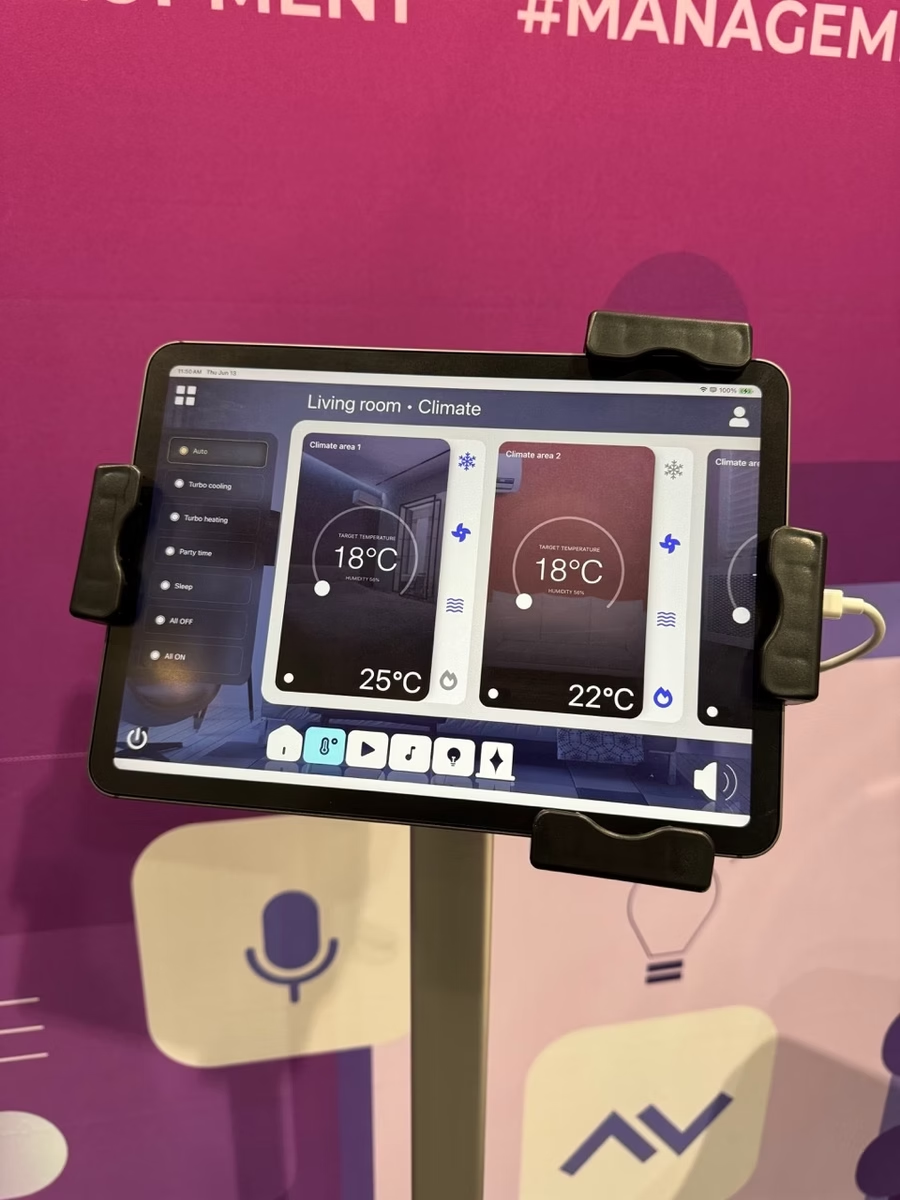
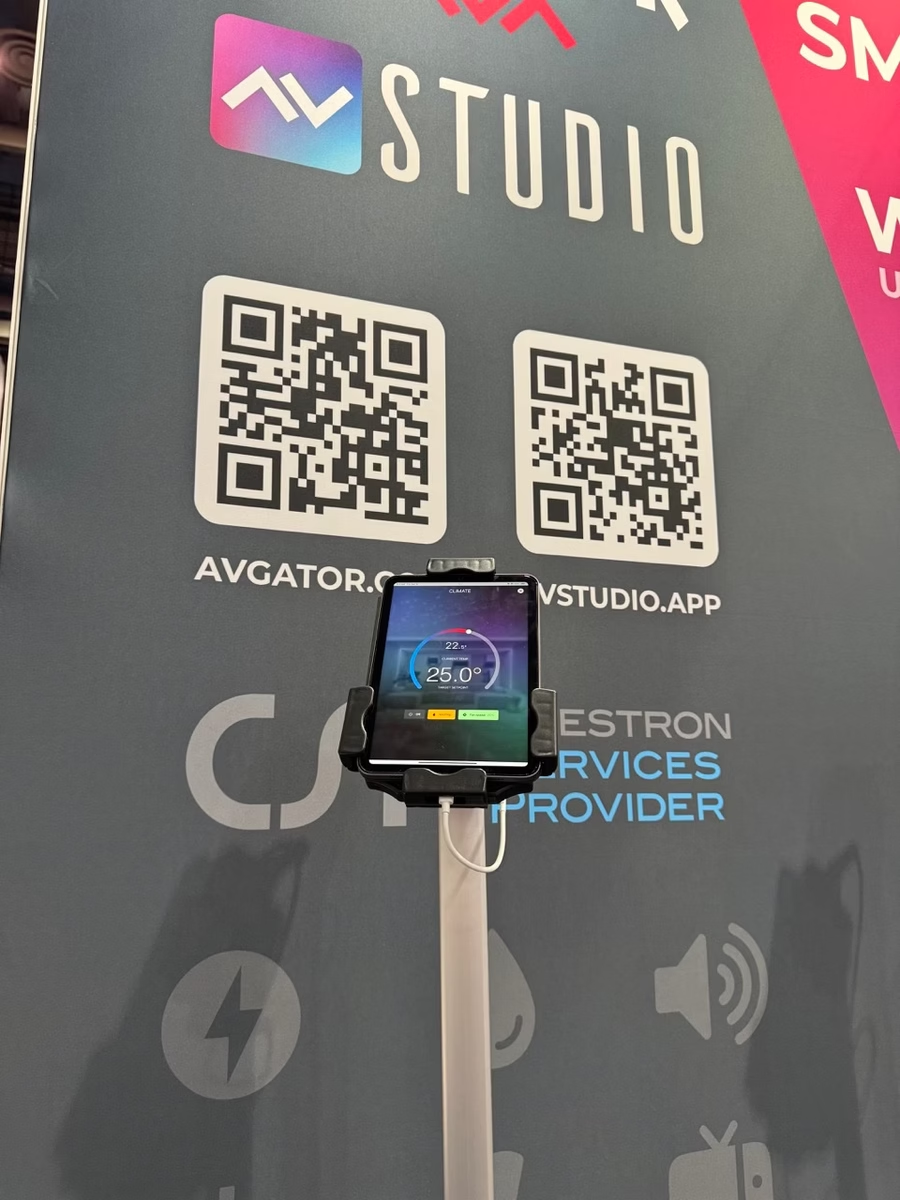
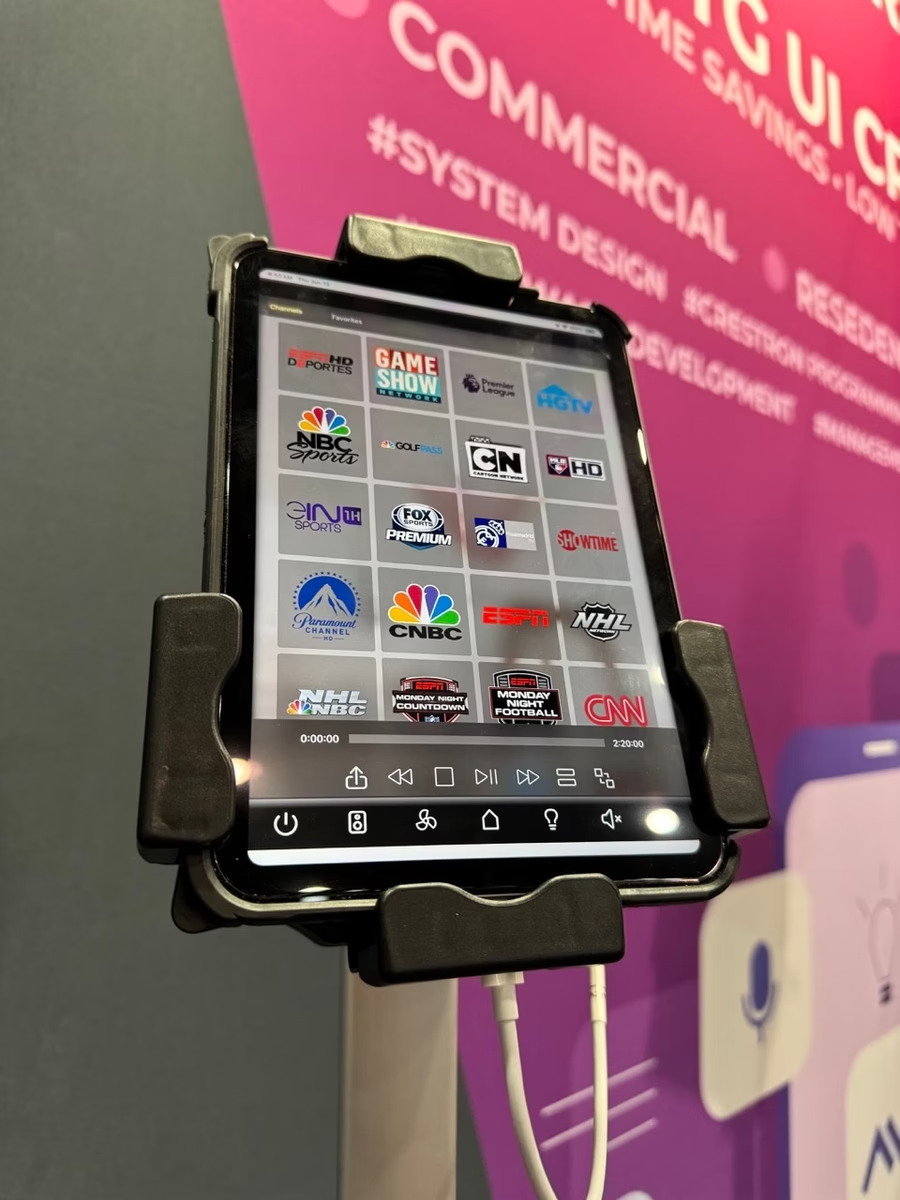
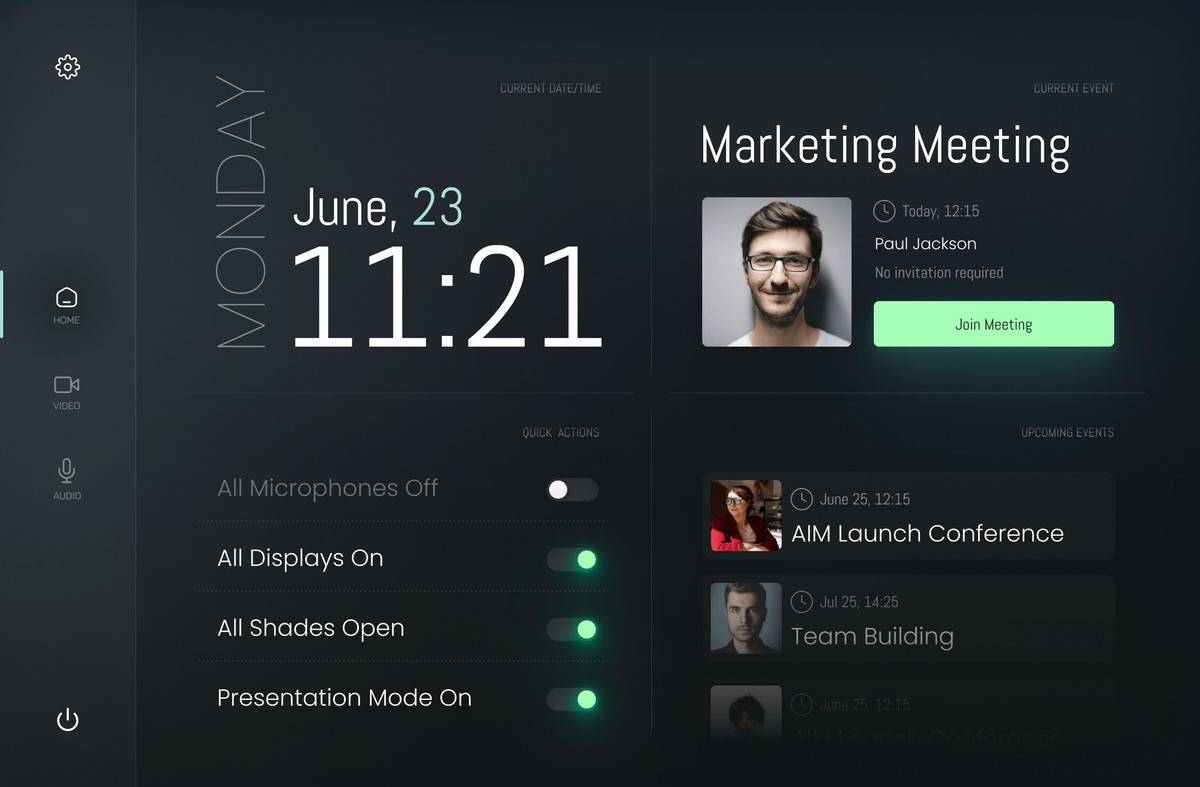
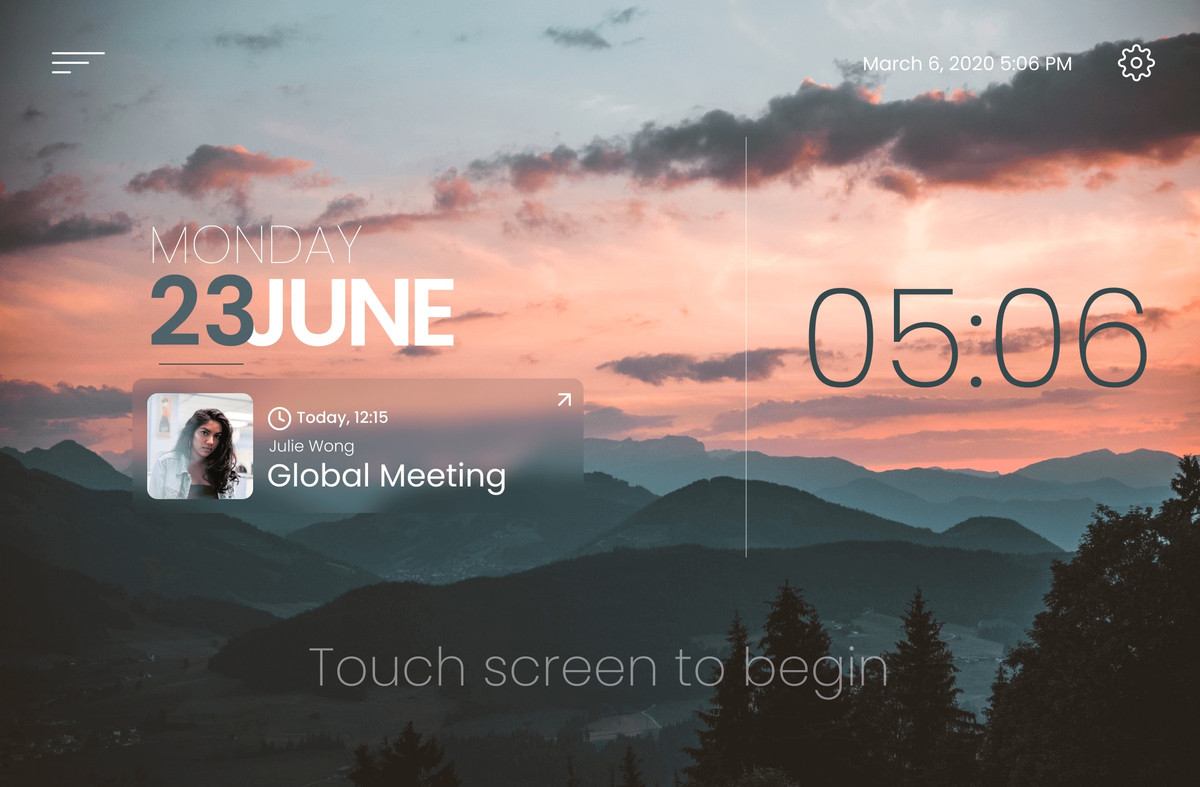
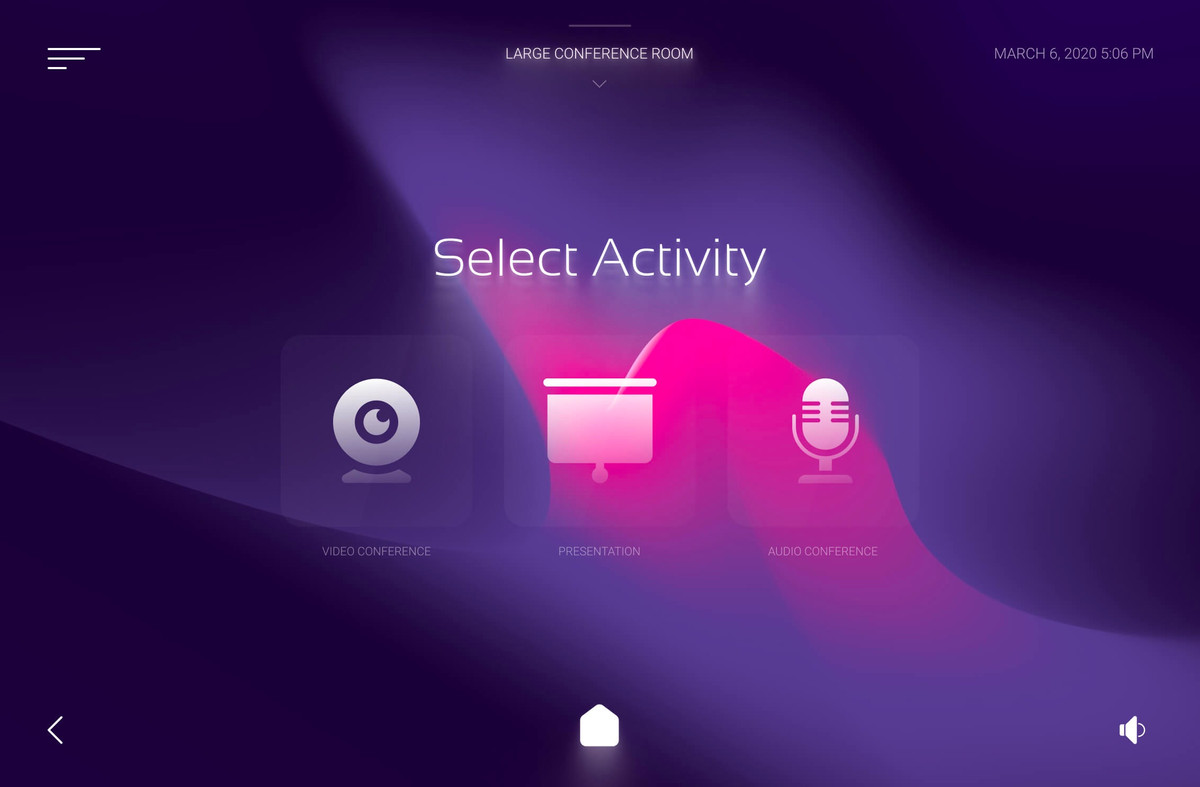
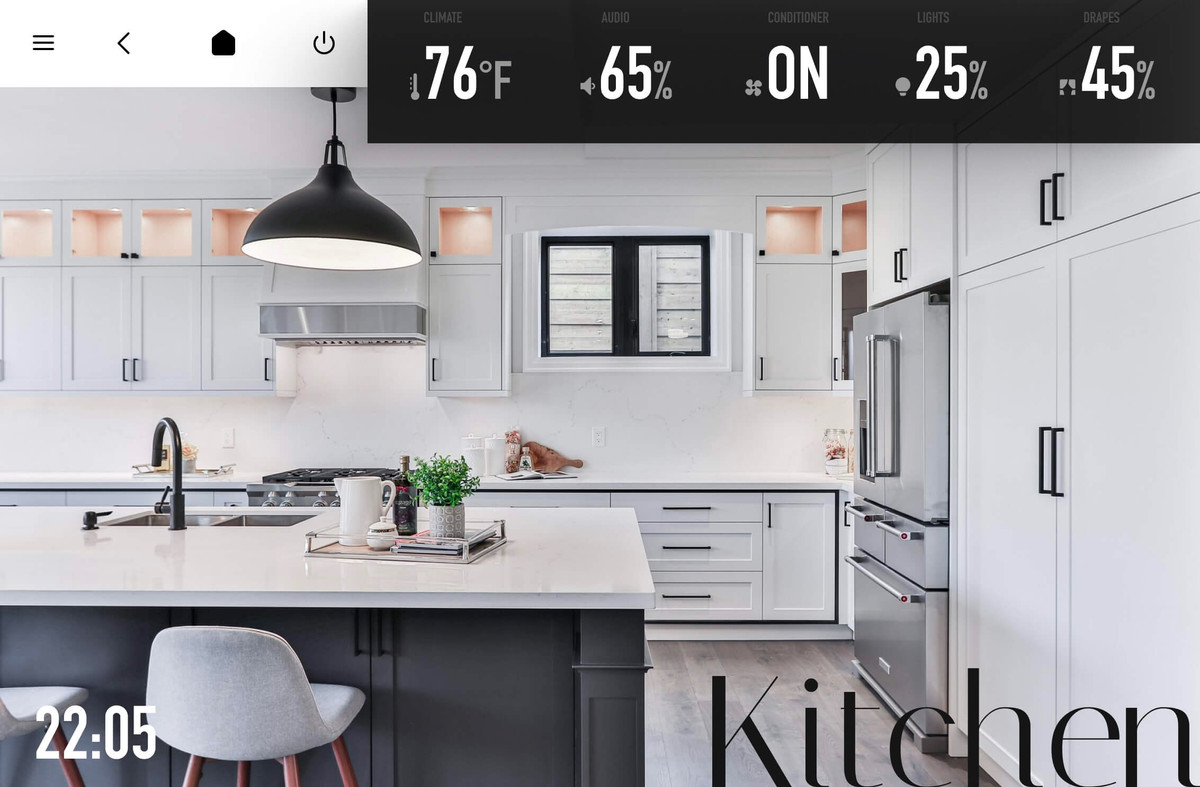
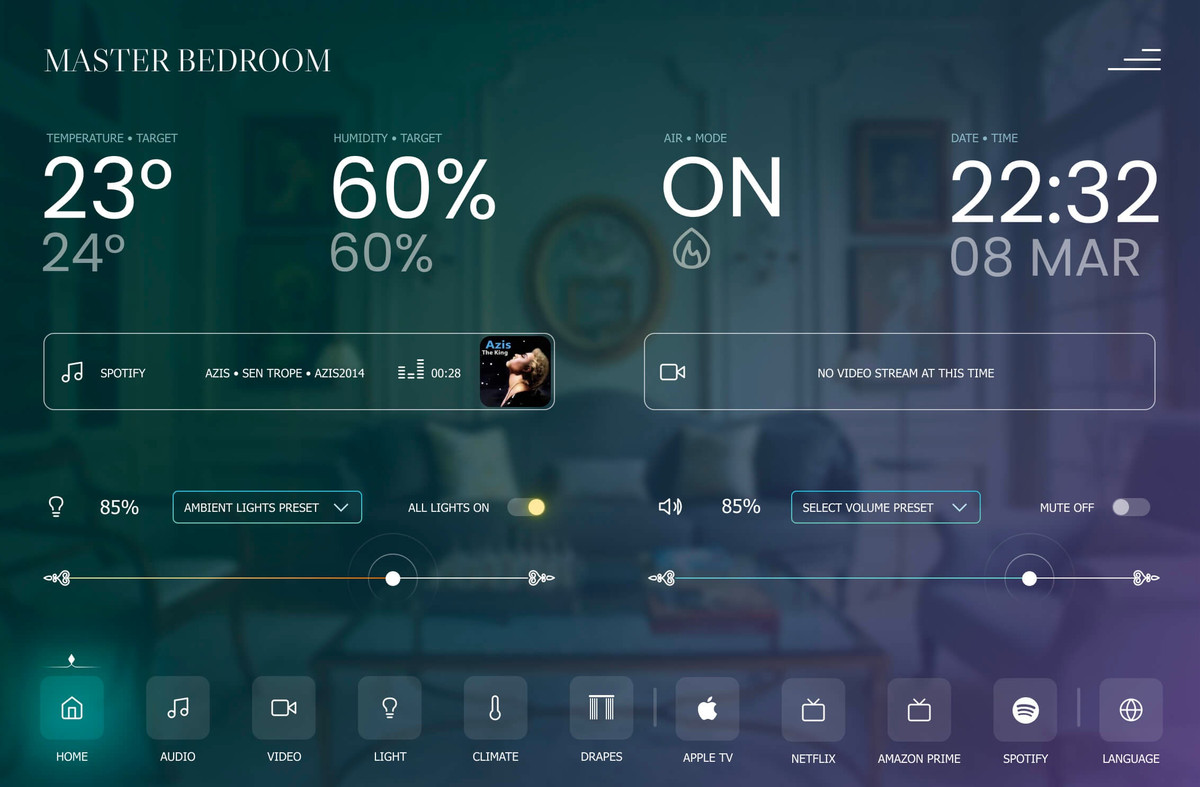
We’re excited to share some of our latest touch panel designs from AVgator® Studio. Check out the photos below!
Are you curious about how you can create similar touch panels for your projects? Visit us at Central Hall, Booth 10130 today, and let us show you how AVgator® Studio can transform your AV interfaces with ease and efficiency.
We’d love to hear your thoughts and questions—drop by for a demo or comment below if you’d like to learn more!
Join Us for a Sneak Peek of Our Latest Innovations!
As InfoComm 2024 kicks off in Las Vegas, we at AVgator® Inc. are thrilled to announce that we are fully prepared to showcase our latest advancements. We invite all our current and future customers to visit us at Central Hall, Booth 10130, to discover what we’ve been working on.
This year, we have a special surprise in store, featuring cutting-edge developments in AVgator® Studio that will revolutionize how you approach AV technology. Our team is eager to demonstrate these new capabilities and discuss how they can benefit your projects.
What to Expect at Our Booth:
• Exclusive Preview of AVgator® Studio’s New Features: See firsthand the enhancements designed to streamline your workflow and elevate your AV solutions.
• Interactive Demonstrations: Engage with our live demos and get a feel for the intuitive, powerful tools we’ve developed.
• Meet the Experts: Our team of specialists will be on hand to answer your questions and provide insights into how AVgator® Studio can meet your specific needs.
Don’t miss this opportunity to connect with us and explore the future of AV technology. We look forward to seeing you and sharing our exciting new offerings!
Event Details:
• Location: Central Hall, Booth 10130
• Dates: June 12-14, 2024
Stay tuned for more updates from InfoComm 2024. Follow us on LinkedIn for live insights and highlights throughout the event.
🚀 Excited to be heading to InfoComm 2024 in Las Vegas! Representing AVgator® Inc., I can’t wait to showcase our groundbreaking solutions, including AVgator® Studio. Looking forward to connecting with industry leaders and exploring new possibilities in AV technology. Let’s revolutionize the future of AV together!
We are thrilled to welcome both new and loyal customers to showcase our flagship offering – AVgator® Studio, a cutting-edge WYSIWYG user interface editor.
Join us to discover the latest in user interface design and share in our newest innovations.
Mark your calendars for June 12 to 14, and find us in the Central Hall. We can’t wait to connect with you and explore what the future holds together. See you there!
Our booth number: C10130
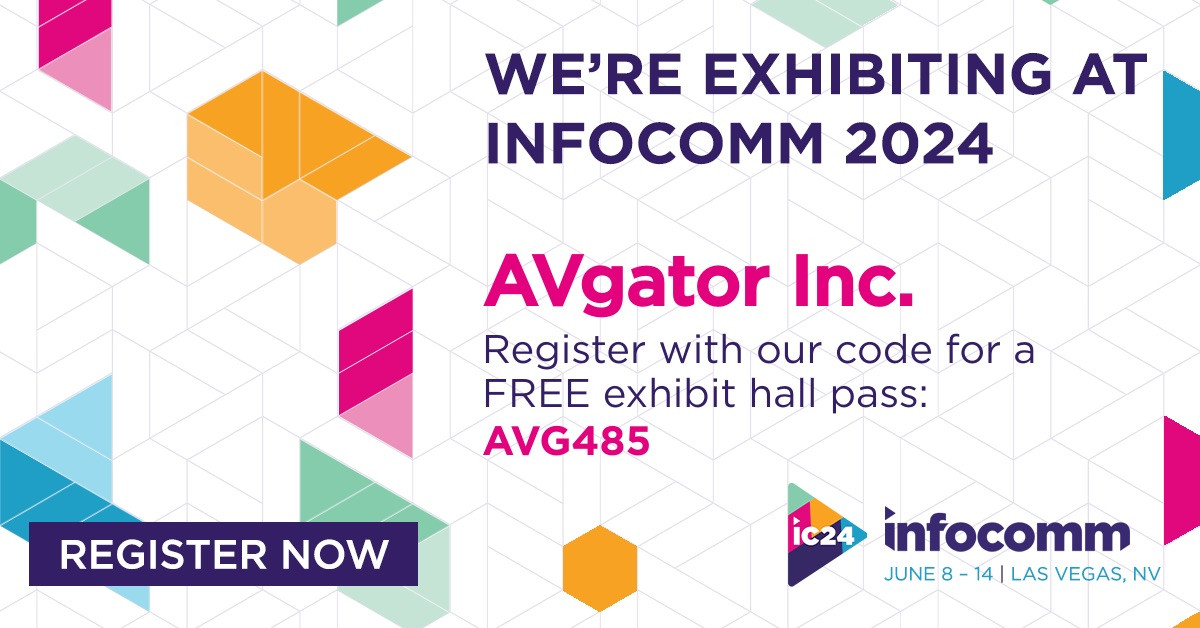
Click the registration link below and use our VIP code for a free exhibit hall pass: https://invt.io/1exbtnte7ar
To create a user interface on HTML5 for a Crestron control system, you can use a software tool like AVstudio by AVgator® Inc, which is specifically designed for this purpose.
Here are the basic steps to create a user interface using AVstudio:
Launch AVstudio and create a new project.
Configure the connection to your Crestron control system (e.g., IP address, WebSocket token).
Add UI elements (buttons, sliders, video windows, etc.) to your layout.
Assign join numbers or data bindings to connect interface elements to control system signals.
Use preview mode to test interactions in real time.
Customize layout using Fluid or Static page design approaches.
Save and export your project for deployment.
AVstudio supports various environments like Crestron One, Android App, PWA, and browsers, so you can create an interface that works across different platforms.
Additionally, AVstudio provides a built-in smart console and live debugging with a real processor to help you troubleshoot any issues and optimize your interface.
AVstudio by AVgator® Inc is an online-based HTML5 editor for creating GUIs for control systems like Crestron. You can access it at the following address: AVgator® Studio
Once you log in, you can start creating your project and designing your user interface. If you have any questions or issues, you can also contact support team for assistance.
Bright Conference Space HTML5 GUI
The difficulty level of creating a GUI in AVstudio will depend on your previous experience with GUI design and HTML5 development. However, AVstudio is designed to be a user-friendly and intuitive tool that requires no coding skills, making it accessible for people who are new to GUI design.
Riseup HTML5 GUI
AVstudio provides a drag-and-drop interface that allows you to select and place various elements, widgets, and controls onto your GUI canvas. You can customize the design and layout of your GUI using a variety of built-in themes, styles, and colors. Additionally, the tool provides a library of pre-built components, including buttons, sliders, labels, and images, that you can use to add interactivity and functionality to your interface.
Violet Huddle HTML5 GUI
If you do have coding skills, you can also add custom CSS and JavaScript to your project for even more flexibility and control.
Bright Modern Nest HTML5 GUI
Overall, while there may be a bit of a learning curve to become proficient with the tool, AVstudio is designed to be intuitive and accessible for users with varying levels of GUI design experience.
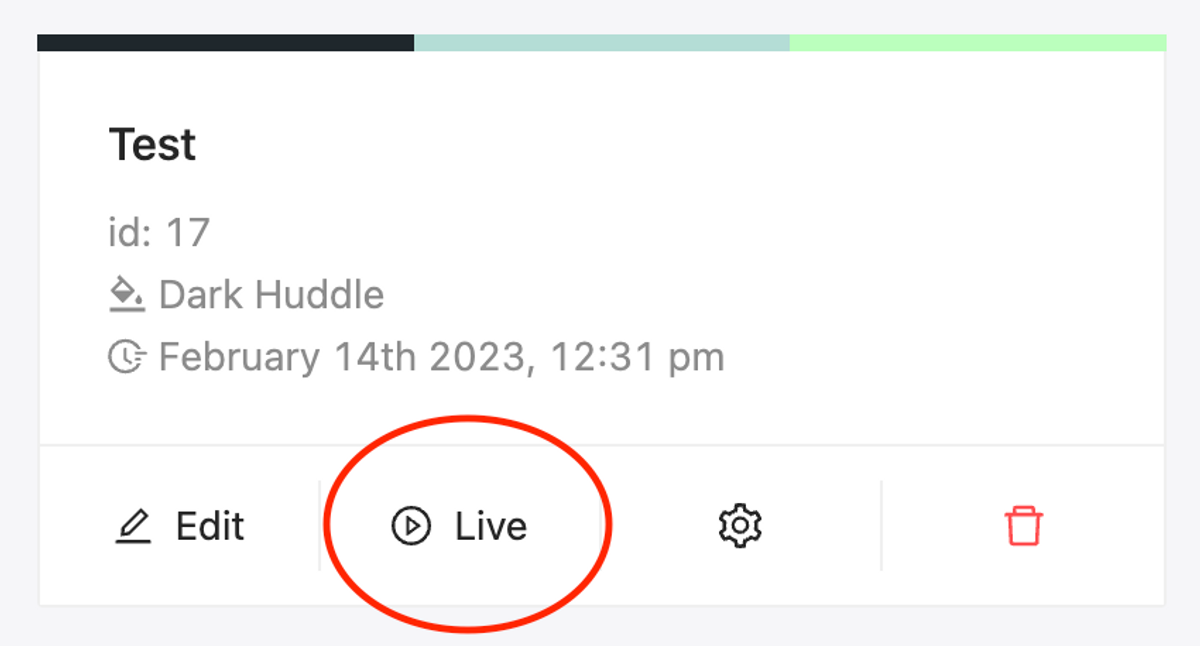
With a live project preview, you can fully explore a project, including all its actions, page flips, and designed logic.
If the correct connection configuration is provided, the preview will automatically connect to the processor, allowing you to experience the full functionality of the project.
New Element: Subpage
NEW
Now you can achieve page encapsulation by inserting one page into another. This new feature makes the design process much more flexible and allows you to reuse layout parts, simplifying your work.
New Element: Switch
NEW
New Element: Spacer
NEW
The Spacer feature enables you to add free space between elements.
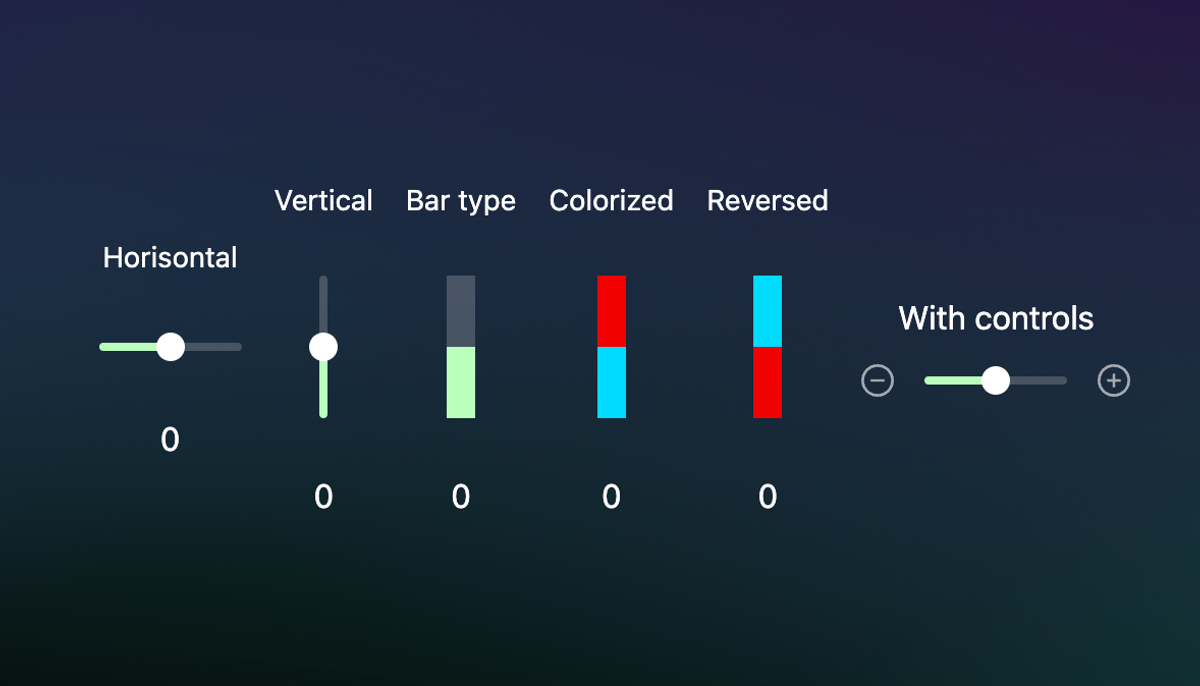
New Element: Slider
NEW
Experience an amazing level of customization and create stunning sliders, bars, and more.
Additionally, sliders have a feature called ‘Dynamic Background’ that can change the page background when the slider’s value is adjusted.
6,000+ new icons
UPDATE
All icons are licensed for personal and commercial use.
Better size control
UPDATE
Almost all element parts can now be controlled, including text size, icon size, and more.
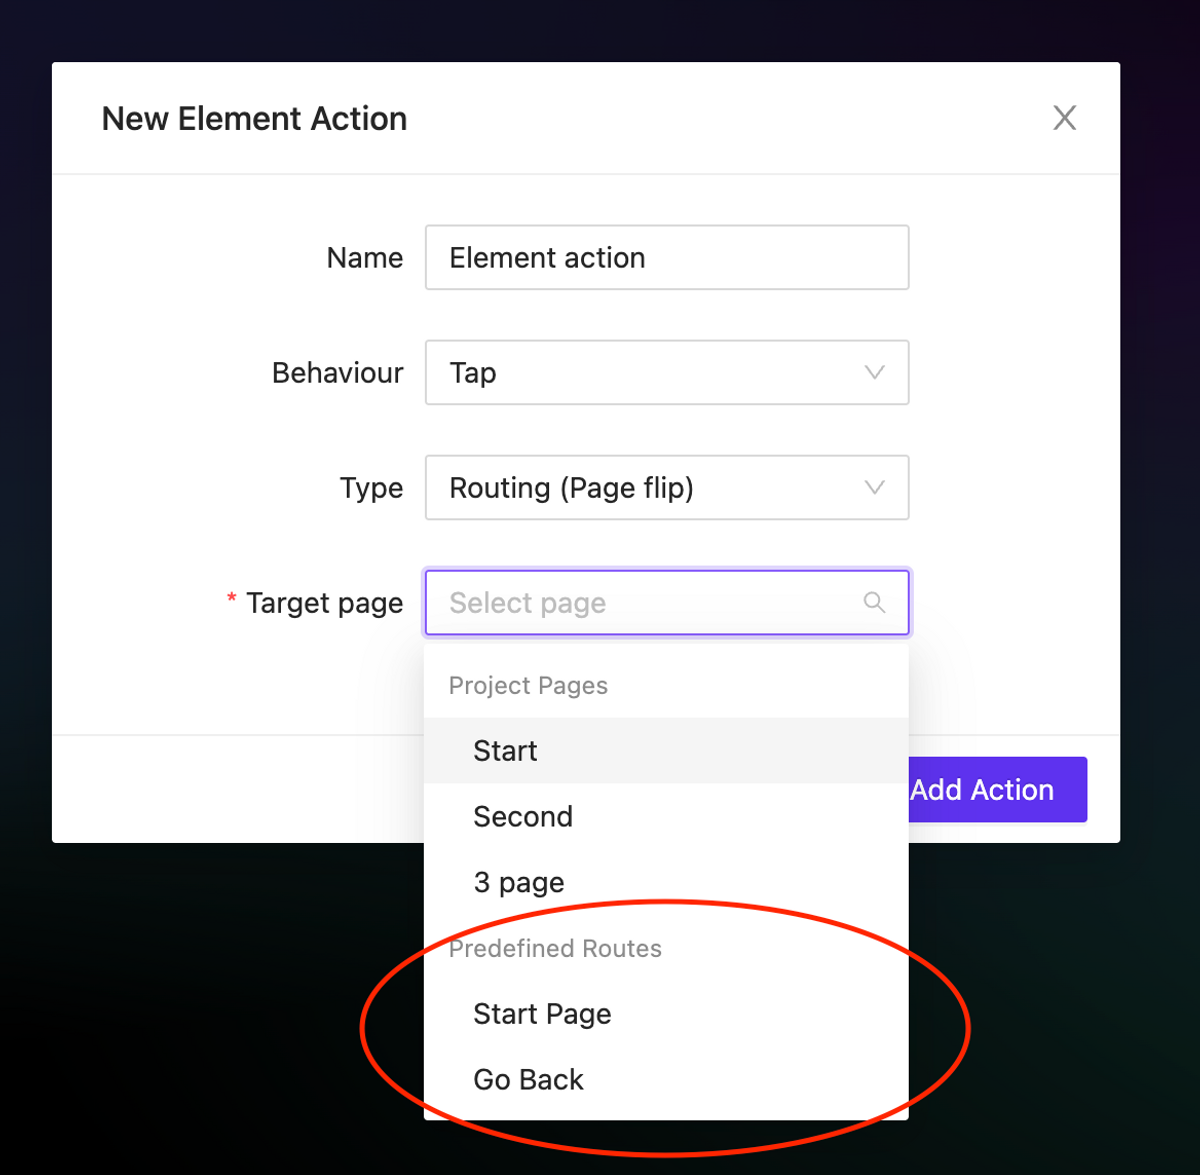
Predefined routes
UPDATE
We have added static routes in page flip actions, which include the ability to go back to the start page and return to the previous page – Go Back.
Interactive elements preview behavior
NEW
We have updated the interactive elements (such as switches and text inputs) so that they now work in the preview mode. This means that you can put text into these elements and see the visual feedback, even if the processor is not connected.
Editor context menu
NEW
In editor mode, you can create, delete, or clone elements by using the context menu.
Gap property
NEW
Containers (and certain elements) now support the gap property, allowing for easy control of the space between content parts.
Border property
NEW
We have added the ability to add borders with custom colors and types to certain elements and containers.
Preview mode
UPDATE
In preview mode, the sidebars with options are faded to draw more focus to the page content.